In this guide, we’ll explore the essential tools and steps required for a successful window film installation, helping you deliver the perfect balance of function and design for your clients. By mastering this skill, you can offer an additional service that aligns with modern sustainability trends and growing consumer awareness about energy efficiency. Whether for residential or commercial projects, window film installation can be the differentiator that sets your design solutions apart.
Before diving into the installation process, it’s essential to understand why window films are a valuable addition to any interior design project. Knowing the benefits can help you better communicate their value to clients, ensuring they understand the long-term advantages.
Window films come in various styles, including frosted, tinted, and decorative options. These films can transform the look of a room, adding a touch of elegance and providing privacy without sacrificing natural light. They are an ideal solution for urban homes where privacy is a concern but where residents do not want to compromise on the amount of sunlight entering their living spaces. Moreover, decorative films can be customized with patterns or logos, making them perfect for personalized interior themes or branding in commercial settings.
In addition to privacy, films offer an aesthetic upgrade, enhancing the overall design of a room. They can complement the color palette of a space, add texture to plain glass, or even mimic the look of expensive etched glass at a fraction of the cost. This versatility makes window films a favored choice for interior designers looking to add style without extensive renovations.
Improve Energy Efficiency
Window films help regulate indoor temperatures by reducing heat gain in the summer and heat loss in the winter. This energy efficiency translates to lower utility bills and a more comfortable living environment for homeowners. By minimizing the need for air conditioning and heating, window films not only save money but also reduce a home’s carbon footprint, aligning with the growing demand for sustainable living solutions.
The thermal regulation provided by window films can also improve the overall comfort of a home, creating a more consistent indoor climate. This is particularly beneficial in spaces with large windows or those exposed to direct sunlight, where temperature fluctuations can be a challenge. Implementing window films can thus contribute to a more balanced and pleasant living environment year-round.
Protect Against UV Rays
Prolonged exposure to UV rays can damage furniture, flooring, and artwork. Window films block up to 99% of harmful UV rays, preserving the beauty and longevity of interior furnishings. This protection is crucial in maintaining the quality of interior designs, as UV damage can lead to fading, discoloration, and material degradation over time.
Beyond preserving aesthetics, UV protection is also beneficial for health. By reducing UV exposure, window films contribute to a safer indoor environment, protecting occupants from potential skin damage and other health risks associated with UV radiation. This added layer of protection enhances the overall value proposition of window films, making them an indispensable tool in modern interior design.
Essential Tools for Window Film Installation
To achieve a professional-grade installation, having the right tools is crucial. Proper tools ensure efficiency, precision, and a high-quality finish, which is essential for meeting client expectations and maintaining your reputation as a skilled designer.
1. Measuring Tape
Accurate measurements are vital to ensure the film fits perfectly on the window. A measuring tape will help you determine the dimensions of the glass surface. It’s important to double-check measurements to avoid wastage and ensure that the film covers the window entirely without leaving gaps. Accurate sizing also aids in achieving a seamless look, crucial for maintaining the aesthetic integrity of the design.
In addition to standard measurements, consider the specific requirements of each window, such as any unique shapes or features, which may require tailored solutions. A flexible measuring tape can adapt to these variations, ensuring you account for every detail in the installation process.
2. Utility Knife
A sharp utility knife is necessary for trimming the film to the exact size needed. Precision in cutting ensures a clean and neat finish. It’s advisable to use a knife with a retractable blade for safety, and always keep spare blades on hand for uninterrupted work. A sharp blade ensures smooth cuts, reducing the risk of tearing the film or leaving jagged edges.
Utilizing a steady hand and cutting against a straight edge can further enhance precision, particularly for intricate designs or when working around window mullions and frames. This attention to detail is critical in delivering a polished final product.
3. Squeegee
A squeegee is used to smooth out the film during installation, removing air bubbles and ensuring good adhesion to the glass. A quality rubber squeegee provides the best results. Choosing the right size of squeegee for your window dimensions can improve efficiency, as larger squeegees cover more area quickly while smaller ones offer precision for tight corners and edges.
Proper technique is also vital; applying firm, even pressure from the center outward helps eliminate air pockets and ensures a flawless finish. This tool is indispensable for achieving the smooth, professional look that clients expect.
4. Spray Bottle with Solution
A spray bottle filled with a solution of water and a small amount of dish soap acts as a lubricant. This solution allows you to adjust the film during installation and helps prevent bubbles. The soap reduces surface tension, making it easier to reposition the film and achieve a perfect fit. Ensure the bottle offers a fine mist for even application, as too much liquid can complicate the process.
Experimenting with the soap-to-water ratio can help you find the ideal balance for your specific film type and environmental conditions. This step is crucial for ensuring the film’s proper adhesion and longevity.
5. Hard Card
A hard card, often made of plastic, is used for pushing out air bubbles and ensuring the film adheres smoothly to the window. These cards are particularly useful for detailed work around edges and corners, where a squeegee may be too large or cumbersome. Selecting a card with rounded edges can prevent accidental scratches or tears in the film.
In addition to bubble removal, hard cards can assist in the final smoothing process, ensuring the film lies perfectly flat against the glass. This precision tool is key to achieving a professional-grade finish.
6. Microfiber Cloth
A clean microfiber cloth is essential for wiping down the glass surface and film, ensuring there is no dust or debris that could interfere with the installation. Unlike other types of cloth, microfiber is gentle and leaves no lint, making it ideal for maintaining a pristine work surface. Regularly washing and replacing cloths ensures they remain effective and free of contaminants.
Using the cloth during the installation helps maintain a clean workspace, minimizing the risk of imperfections in the film caused by trapped particles. This attention to detail is fundamental in achieving a flawless result.
Step-by-Step Guide to Installing Window Film
Now that you’re equipped with the right tools, let’s walk through the window film installation process. Each step is crucial for ensuring a smooth application and a professional finish that meets client expectations.
Step 1: Prepare the Window
Start by thoroughly cleaning the window to remove any dirt, dust, or grease. A spotless surface ensures the film adheres properly. Use the microfiber cloth and a glass cleaner for this task. Pay special attention to corners and edges, where grime can easily accumulate and interfere with adhesion.
It’s also advisable to clean the surrounding area to minimize dust during installation. A clean environment reduces the likelihood of dust particles settling on the film, ensuring a smooth application and long-lasting results.
Step 2: Measure and Cut the Film
Measure the dimensions of the window and cut the film accordingly. It’s advisable to cut the film slightly larger than the window to allow for adjustments. This extra margin provides flexibility during positioning, helping you achieve perfect alignment without compromising the film’s coverage.
Once positioned, the excess film can be trimmed for a precise fit. This approach minimizes errors and ensures that the film perfectly matches the window’s dimensions, contributing to a seamless final appearance.
Step 3: Apply the Solution
Spray the glass surface liberally with the water and soap solution. This step is crucial as it allows you to slide the film into place and prevents it from sticking too quickly. The solution acts as a temporary lubricant, enabling you to reposition the film easily until it’s correctly aligned.
Applying the solution evenly is key to avoiding areas of dry glass that could hinder the film’s movement or cause uneven adhesion. This preparation step sets the foundation for a successful installation.
Step 4: Position the Film
Carefully peel the backing off the film and place it onto the wet glass surface. Use your hands to position it correctly, ensuring it covers the entire window area. Begin at the top and allow the film to naturally settle into place, taking advantage of the lubricated surface for easy adjustments.
Being gentle during this stage is important to avoid stretching or tearing the film. Proper alignment at this point ensures the film’s design and protective features are maximized.
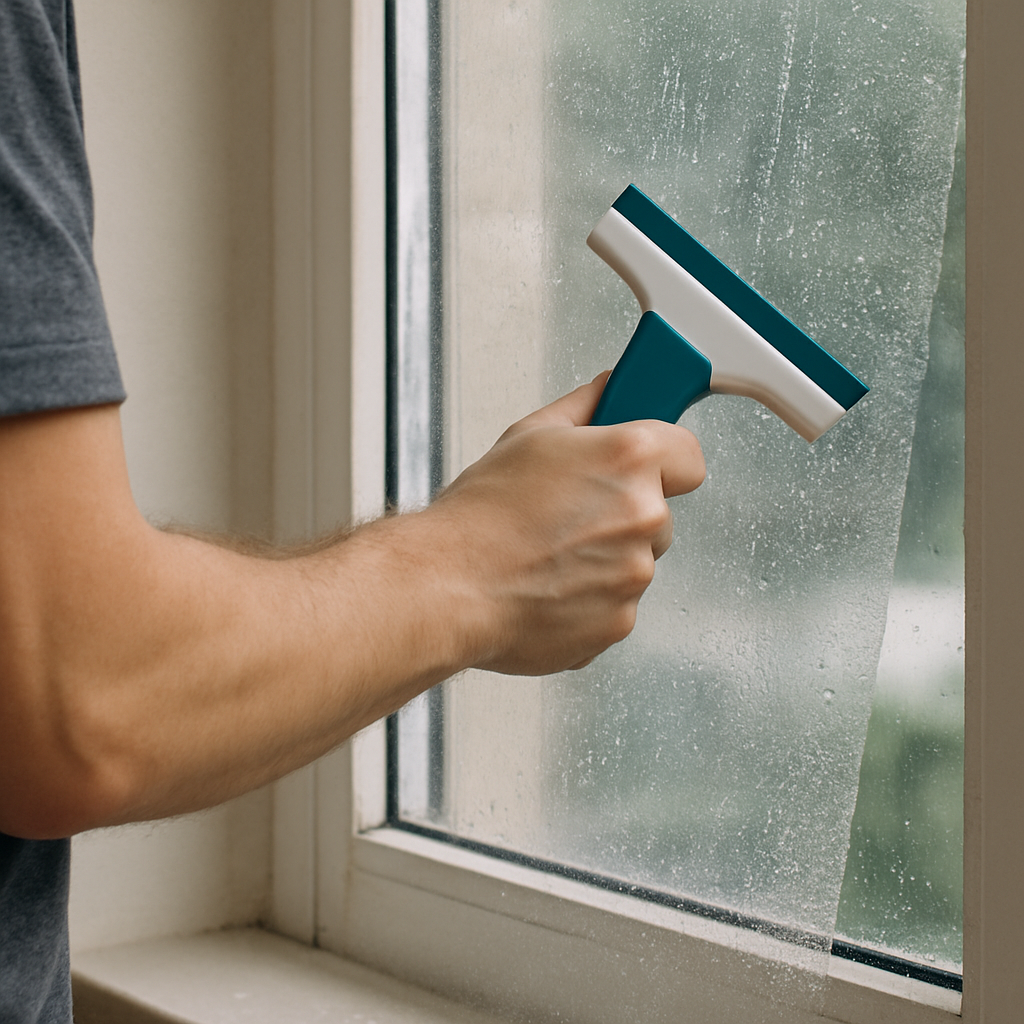
Step 5: Smooth the Film
Using the squeegee, begin smoothing the film from the center outwards. This technique helps remove air bubbles and excess solution. Be gentle to avoid tearing the film. Start with light pressure and gradually increase as the film settles, using overlapping strokes to ensure complete coverage.
Attention to detail during this process is crucial; thorough smoothing ensures the film adheres correctly and enhances its overall durability. This step is vital for achieving a professional, bubble-free finish that satisfies clients.
Step 6: Trim the Edges
With the utility knife, trim any excess film from the edges of the window. Aim for a clean edge that sits flush with the window frame. This finishing touch ensures the film looks integrated with the window, providing a polished and professional appearance.
Careful trimming also prevents peeling or lifting over time, contributing to the film’s longevity. Precision and patience in this step are key to achieving a seamless installation that meets high standards.
Step 7: Final Touches

by Haider Zalghout (https://unsplash.com/@sweatyhands)
Inspect the film for any remaining bubbles or imperfections. Use the hard card to smooth them out, and wipe the film with the microfiber cloth to ensure a pristine finish. This final inspection allows you to address any minor issues that could affect the film’s appearance or performance.
A thorough review and correction process ensures that the installation meets the highest quality standards, leaving clients satisfied and enhancing your professional reputation. These final touches are the hallmark of skilled craftsmanship in window film installation.
Tips for a Successful Installation
- Work in a Dust-Free Environment: Dust can easily get trapped under the film, causing bubbles. Ensure the area is as clean as possible. Consider using air purifiers or conducting installations during times when foot traffic is minimal to further reduce dust exposure.
- Use a Quality Film: Investing in a high-quality window film ensures durability and better performance in terms of UV protection and energy efficiency. Researching and selecting films with proven performance ratings can enhance client satisfaction and project outcomes.
- Be Patient: Take your time during the installation process to achieve the best results. Rushing can lead to mistakes and a less professional finish. A methodical approach allows for attention to detail, ensuring a superior end product that meets or exceeds client expectations.
Conclusion
Window film installation is a straightforward yet impactful way to enhance the aesthetics and energy efficiency of a space. By understanding the benefits, utilizing the right tools, and following a meticulous installation process, you can provide your clients with stylish, eco-friendly solutions that complement their interior designs. With practice and precision, you’ll master the art of window film installation, offering a valuable service that enhances the beauty and functionality of any home. This skill not only enriches your professional offerings but also aligns with the growing demand for sustainable and cost-effective design solutions.