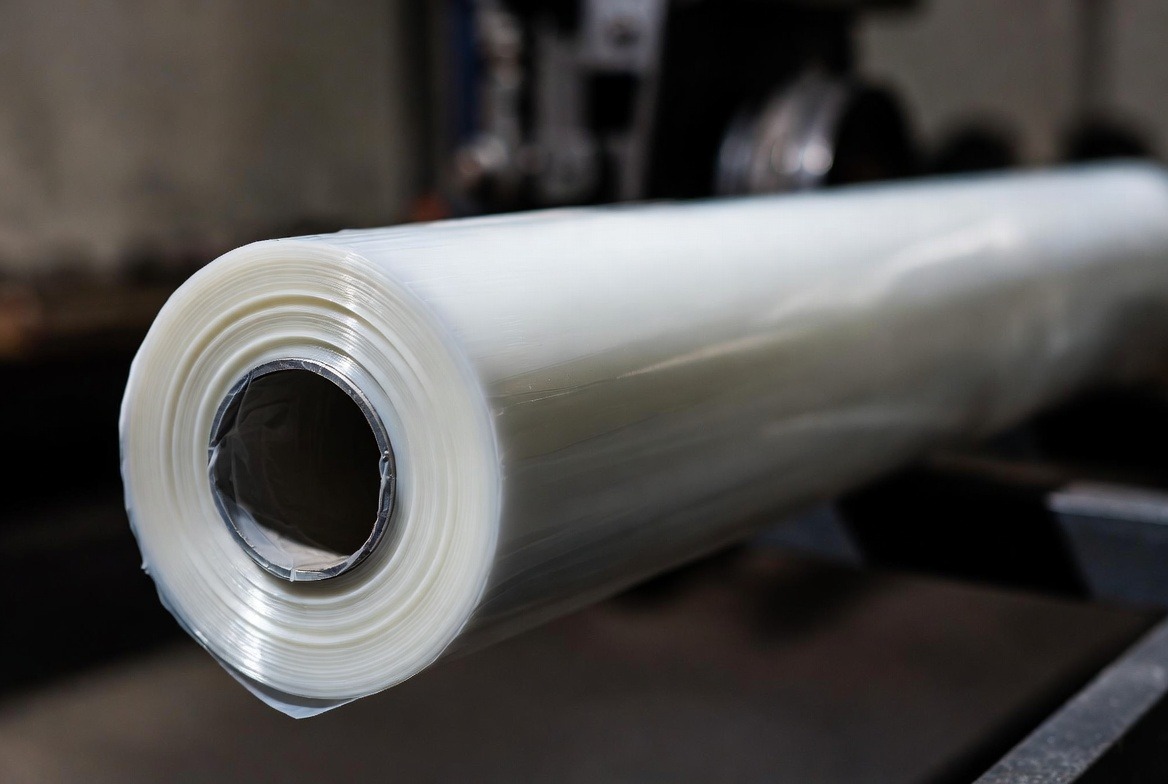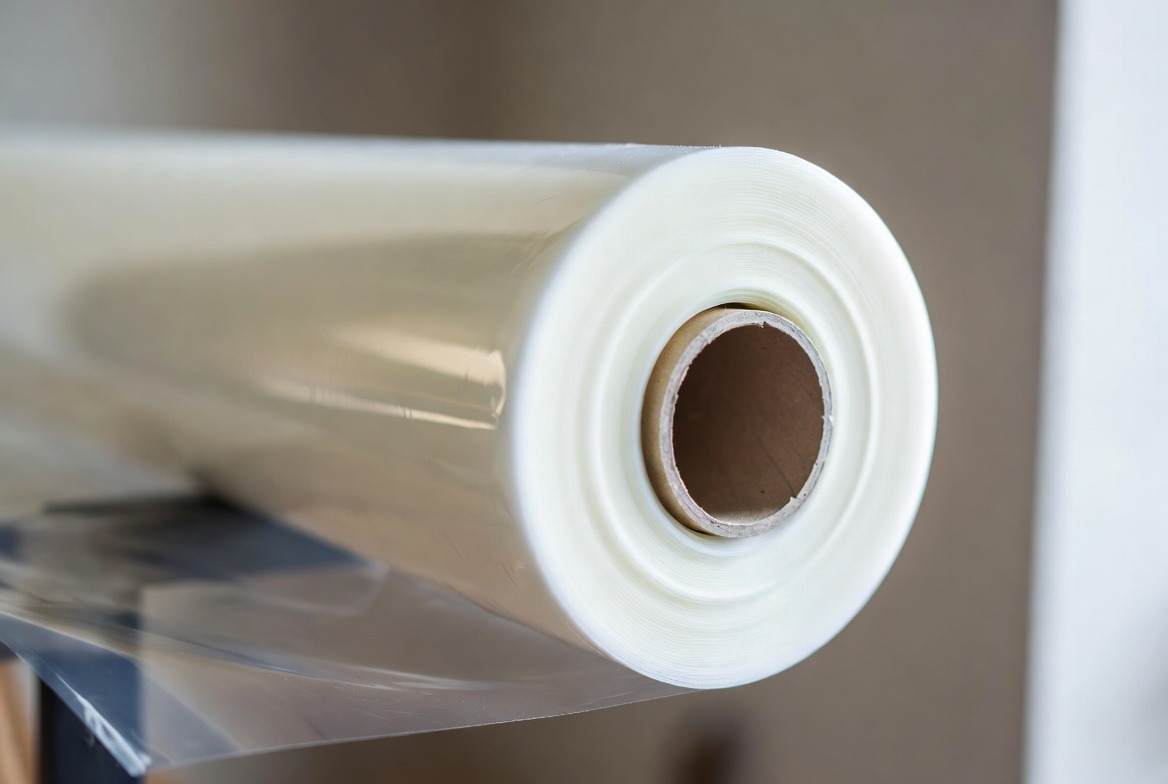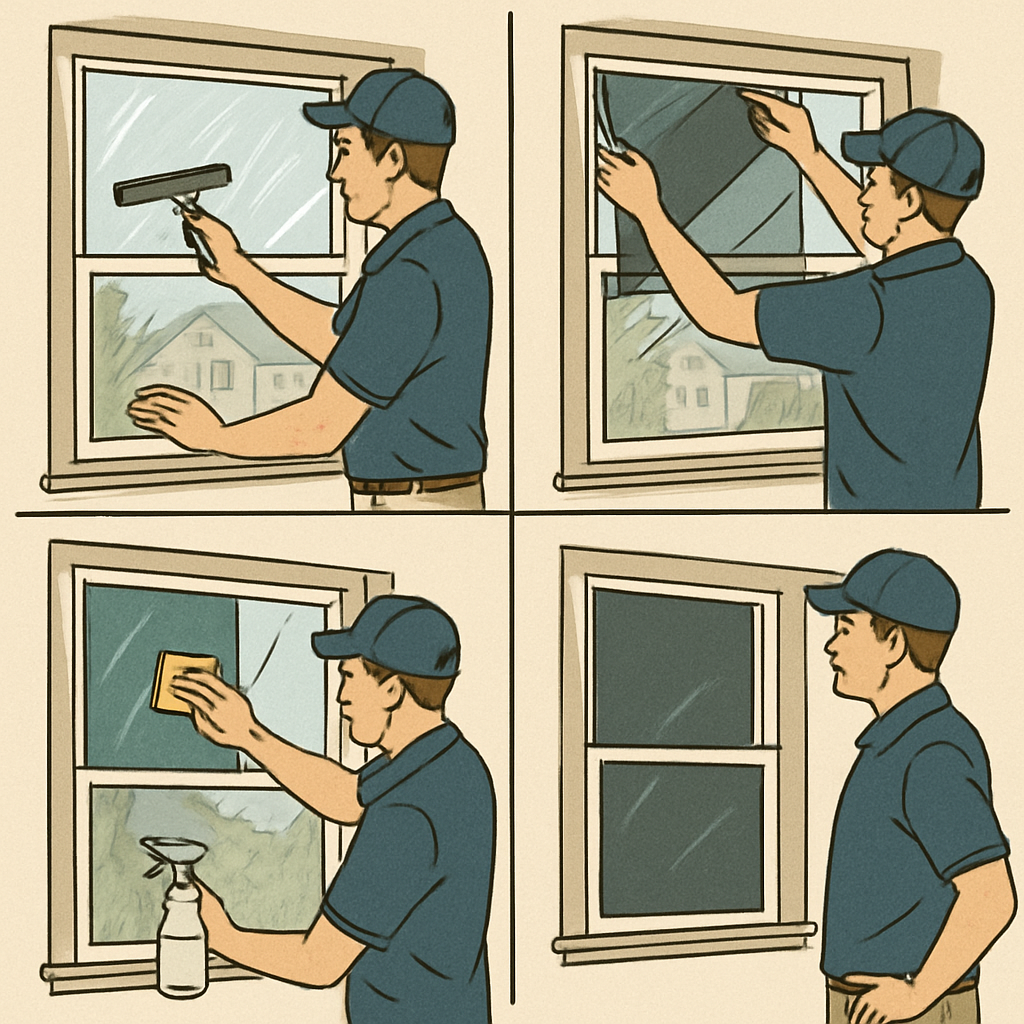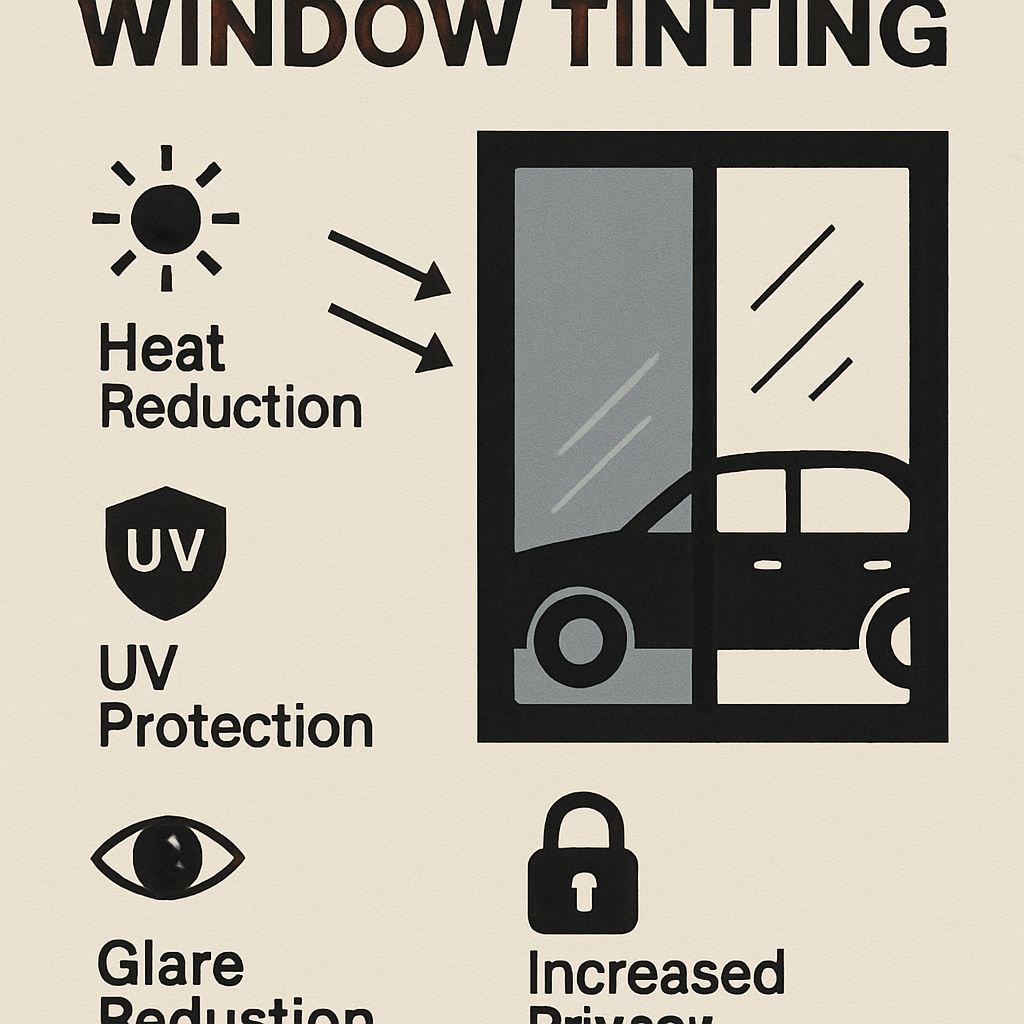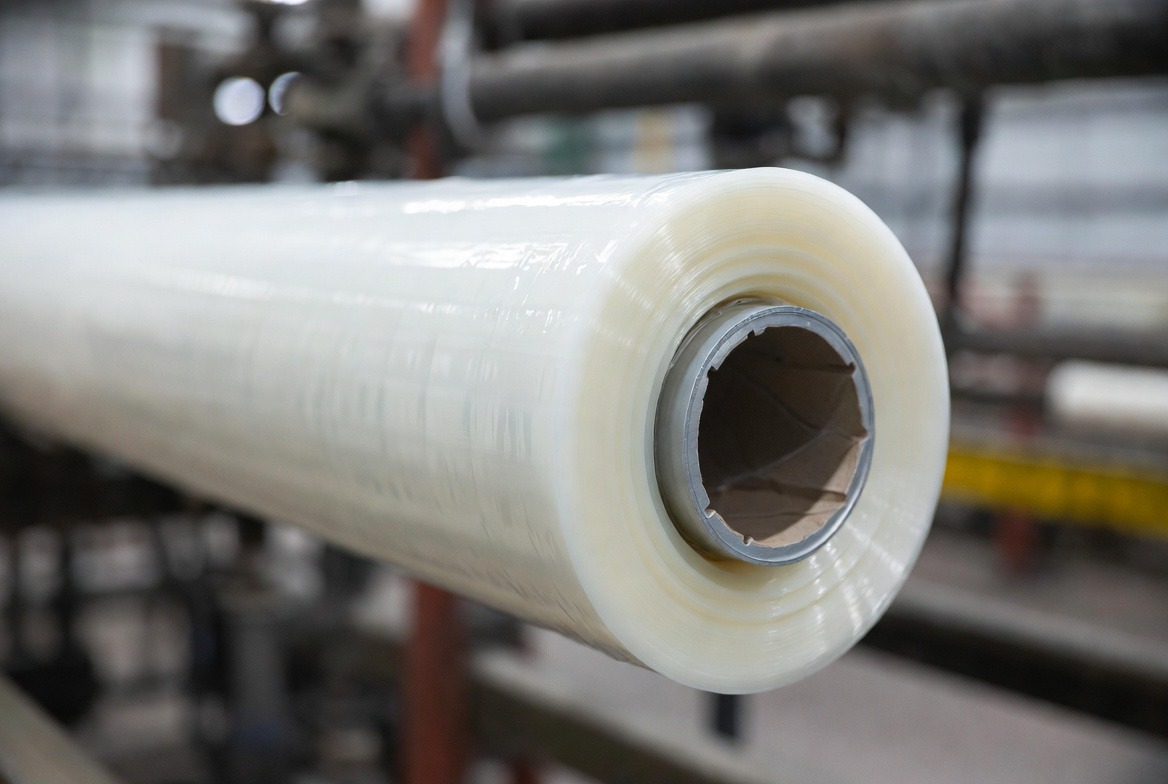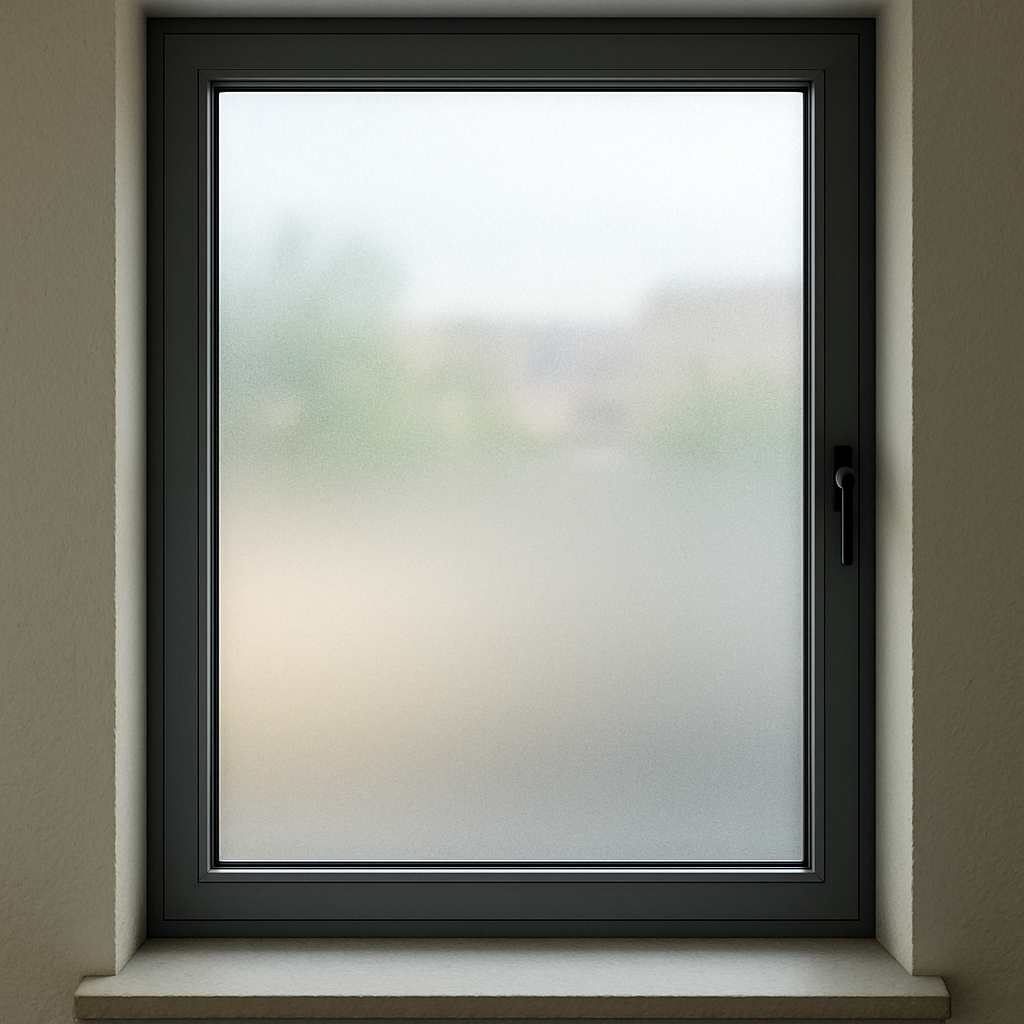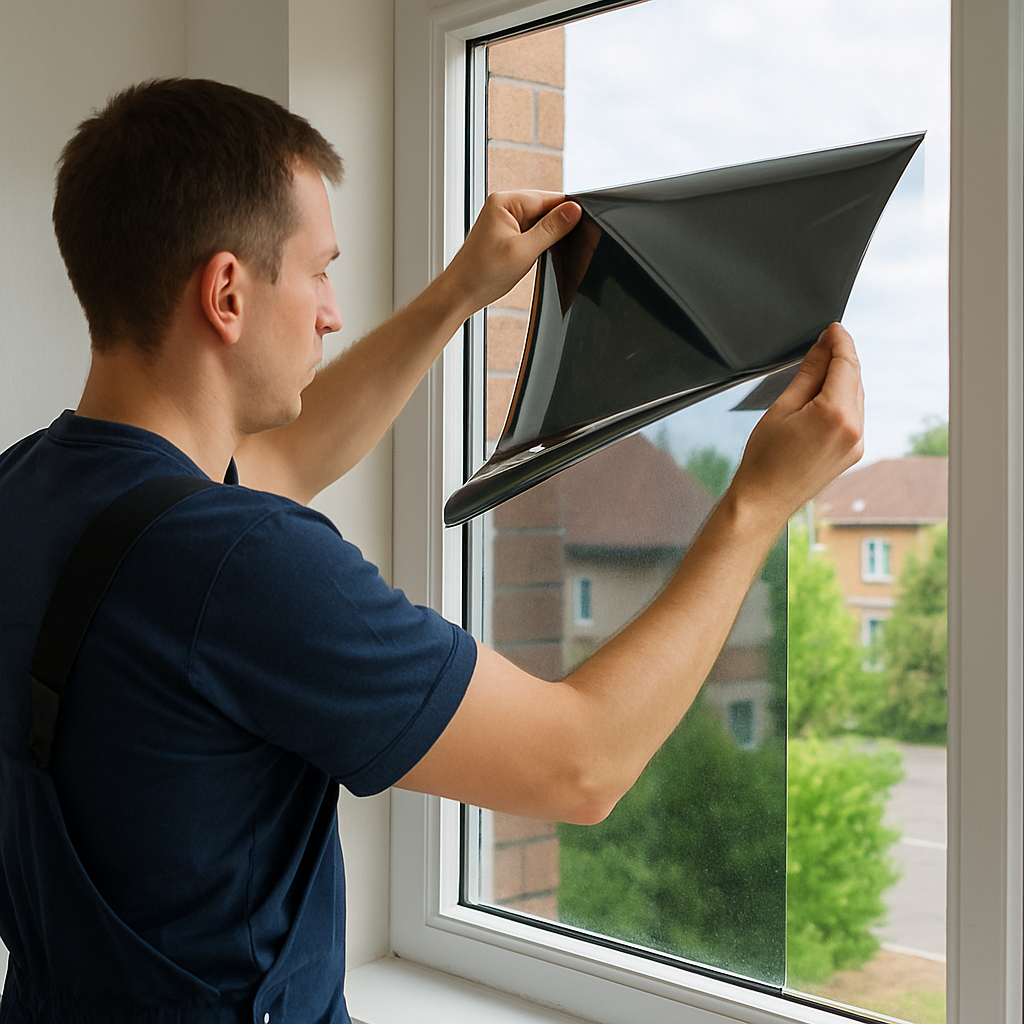
Before diving into maintenance, it’s essential to understand what one-sided glass film is and how it works. This type of film is designed to create a mirrored effect on one side of the glass, reflecting light and creating a barrier to prying eyes. During the daytime, the outside light is brighter, which makes the film act as a one-way mirror. At night, however, the effect diminishes if the interior is brightly lit, so it’s important to manage lighting for privacy.
One-sided glass films are constructed using advanced materials that allow them to maintain their reflective properties without interfering with the view from the inside. This dual functionality makes them particularly appealing for residential and commercial properties looking for both security and style. Understanding the basic principles of how these films work can help you make informed decisions about their placement and maintenance, ensuring optimal performance and longevity.
Initial Care Post-Installation
Allow Time to Cure
After installing one-way window film, allow it to cure properly before cleaning or touching it. The adhesive needs time to set, which typically takes about 30 days. During this period, refrain from applying any pressure to the film or cleaning it, as it might shift or develop bubbles.
Patience during the curing process is key to preventing premature wear and tear. The first month is crucial for the film’s adhesion, and any disturbances can lead to long-term issues like peeling or cracking. By allowing the adhesive to fully bond with the glass surface, you’ll maximize the film’s performance and durability, saving you time and money on potential repairs or replacements in the future.
Avoid Moisture
In the first few weeks after installation, avoid exposing the film to moisture. Water can interfere with the adhesive curing process, leading to bubbles or peeling. Keep windows closed during rain and avoid cleaning with any liquids.
Moisture control is not just about keeping rain off your windows; it’s also about managing indoor humidity levels. High humidity can affect the curing adhesive, so consider using dehumidifiers if your home is prone to dampness. This proactive approach ensures the film adheres correctly, maintaining its appearance and functionality over the long term.
Routine Cleaning and Maintenance
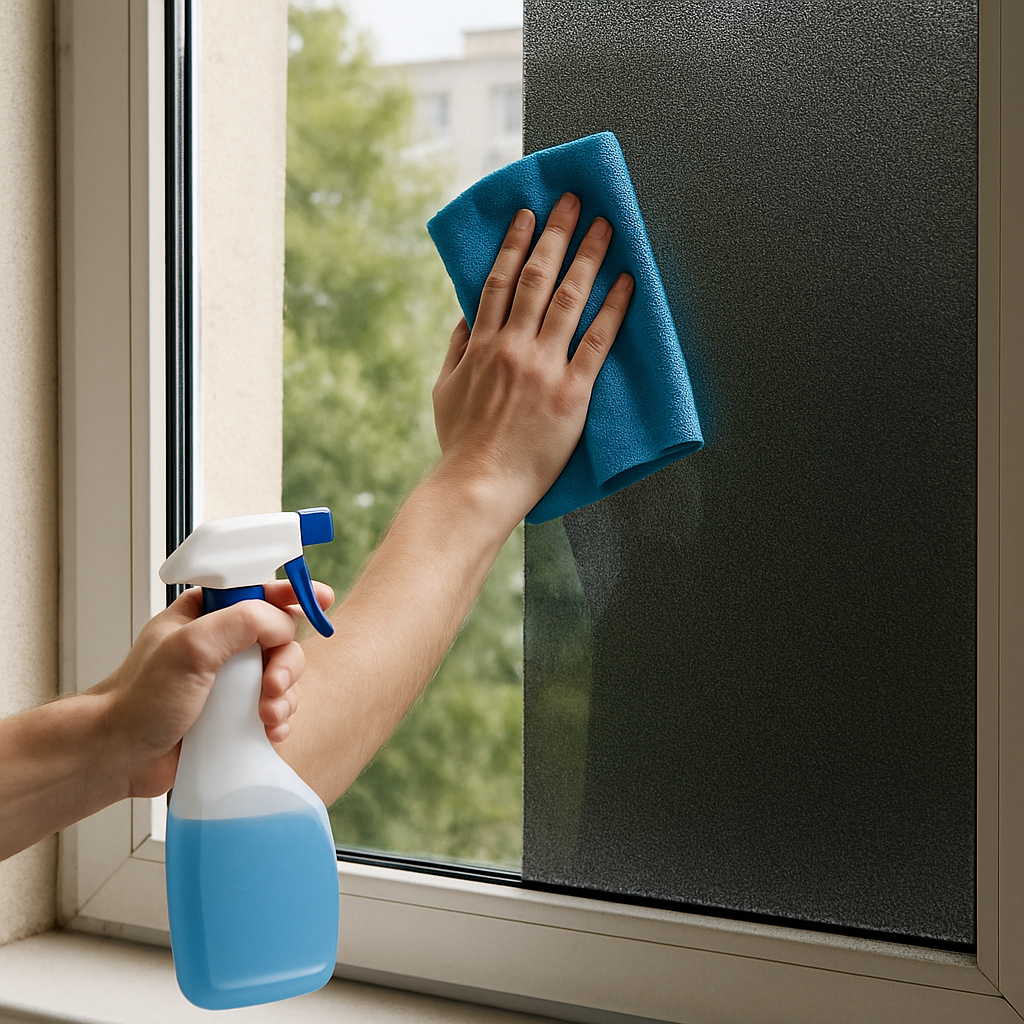
Choose the Right Cleaning Products
To maintain the clarity and effectiveness of your one-way glass film, use non-abrasive, ammonia-free cleaning products. Ammonia and harsh chemicals can damage the film, causing it to degrade over time. Opt for a gentle, eco-friendly cleaner or a simple mixture of water and mild dish soap.
The choice of cleaning products is vital not only for the longevity of the film but also for maintaining a healthy indoor environment. Eco-friendly cleaners are less likely to release harmful VOCs, making them a safer option for both the film and the inhabitants of your home. Regular cleaning with the right products helps preserve the film’s reflective properties, ensuring consistent privacy and energy efficiency.
Use Soft Cloths or Sponges
Always use soft, lint-free cloths or sponges when cleaning the film. Abrasive materials like paper towels or scouring pads can scratch the surface, affecting the film’s appearance and functionality. A microfiber cloth is an excellent choice for preventing scratches and achieving a streak-free finish.
Microfiber cloths not only protect the film from scratches but also enhance cleaning efficiency by picking up more dust and dirt in a single swipe. Investing in quality cleaning tools can make a significant difference in maintaining the pristine condition of your one-sided glass film. Regularly washing and replacing these cloths ensures they remain effective, helping you uphold a high standard of cleanliness.
Regular Dusting
Dust can accumulate on the film, especially on windows exposed to the elements. Regular dusting with a soft, dry cloth will help keep the surface clean and reduce the frequency of wet cleaning. This practice also prevents dust buildup that could scratch the film during cleaning.
Routine dusting is a simple yet effective way to prolong the life of your window film. By keeping dust at bay, you not only maintain the aesthetic appeal but also reduce the risk of damage during cleaning. Establishing a regular dusting schedule can help integrate this maintenance task into your routine, ensuring your window films remain in top condition year-round.
Preventive Measures
Avoid Sharp Objects
Be cautious around your windows to prevent sharp objects from coming into contact with the film. Even minor scratches can compromise the film’s reflective properties, diminishing its effectiveness and appearance.
Position furniture and decorative items carefully to minimize the risk of accidental contact with the film. Educate family members, especially children, about the importance of keeping sharp or hard objects away from the windows. By creating a safe zone around your window films, you can prevent unintentional damage and preserve their pristine condition.
Manage Interior Lighting
Since one-sided glass film relies on lighting conditions to function effectively, manage your interior lighting to maintain privacy. Use curtains or blinds at night to enhance privacy and prevent outsiders from seeing in when the interior lights are on.
Strategically placing lamps and choosing appropriate light fixtures can help optimize the effectiveness of your one-sided glass film. Consider using dimmers or smart lighting solutions to adjust the brightness easily, adapting to different times of the day. Thoughtful lighting management not only enhances privacy but also contributes to a comfortable and inviting atmosphere in your home.
Protect from Direct Sunlight
While one-way mirror films are designed to withstand sunlight, prolonged exposure to intense direct sunlight can eventually cause fading or bubbling. Consider using awnings or shades to protect windows that receive excessive sunlight, thereby extending the life of the film.
Incorporating sun protection strategies can significantly enhance the longevity of your window films. Awnings, shades, or UV-protective window treatments not only shield your film from harsh rays but also help regulate indoor temperatures, contributing to energy efficiency. This proactive approach ensures your one-sided glass films remain effective and visually appealing for years.
Handling Minor Repairs

by Townsend Walton ([https://unsplash.com/@twalton](https://unsplash.com/@twalton))
Addressing Bubbles
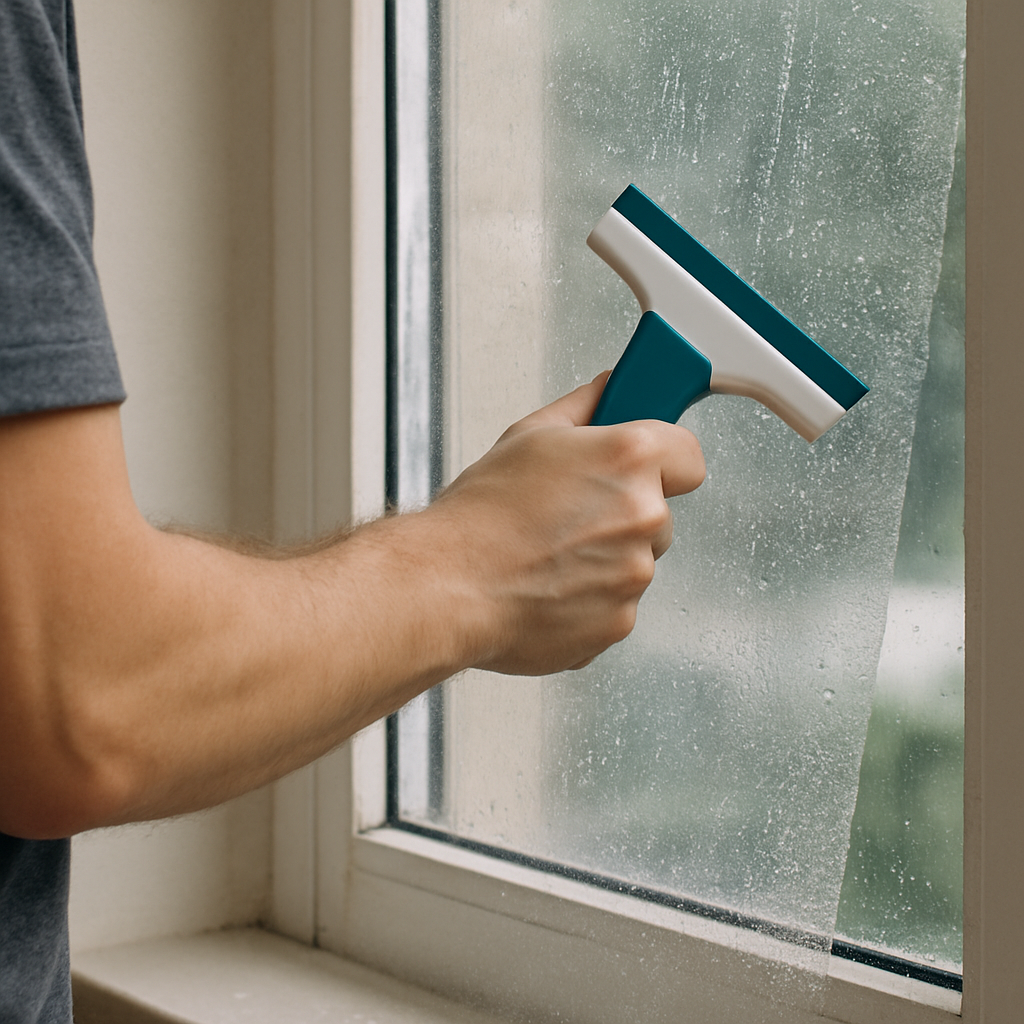
If bubbles appear under the film, they can often be smoothed out with a squeegee. Start from the center of the bubble and gently push the air towards the edges using steady pressure. If the bubble persists, it might be necessary to consult with a professional installer for more advanced techniques.
Addressing bubbles promptly can prevent them from worsening and compromising the film’s appearance and function. DIY approaches like using a squeegee can be effective for minor issues, but it’s important to know when to call in professionals. Their expertise ensures the problem is resolved without causing further damage, maintaining the integrity of your window films.
Repairing Scratches
Minor scratches can sometimes be polished out with a specialized glass polish. However, deep scratches might require professional assessment. If the damage is extensive, it might be more cost-effective to replace the film than attempt extensive repairs.
Understanding the severity of scratches can help you decide the best course of action. While minor blemishes can often be managed at home, deeper damages might necessitate expert intervention. Weighing the costs and benefits of repair versus replacement ensures you make informed decisions that align with your budget and aesthetic goals.
Enhancing the Longevity of Your Film
Regular Inspections
Perform regular inspections to identify any signs of wear or damage early. Look for peeling edges, bubbling, or scratches that might compromise the film’s effectiveness. Early detection allows for timely intervention, preventing further damage.
Scheduling routine inspections as part of your home maintenance can prevent small issues from escalating into costly repairs. By catching problems early, you maintain the film’s functionality and appearance, ensuring it continues to serve its purpose effectively. Regular checks also provide peace of mind, knowing your investment is well-protected.
Professional Maintenance
Consider scheduling periodic professional maintenance for your one-sided glass film. Professionals have the tools and expertise to keep the film in optimal condition, addressing any issues that might not be apparent at first glance.
Professional maintenance offers a comprehensive solution to keep your window films in top shape. Experts can provide thorough cleanings, address minor damages, and offer insights into improving the film’s performance. This proactive approach not only extends the life of your films but also ensures you get the most value from your investment.
Conclusion
Maintaining your one-sided glass film doesn’t have to be a daunting task. With regular care and attention, you can ensure that your investment continues to provide privacy, energy efficiency, and aesthetic appeal for years to come. By understanding the nuances of one-way window film maintenance, you can protect your home and enhance its value with this innovative solution. Whether you’re an interior designer or a homeowner, these tips will help you make the most of your window film, ensuring it remains a functional and stylish part of your living space.
Taking the time to educate yourself and implementing these maintenance strategies can transform the longevity and performance of your one-sided glass films. These films are not just about privacy and aesthetics; they play a crucial role in energy conservation and home security. By integrating these practices into your regular home maintenance routine, you enhance your living environment, contributing to a comfortable, efficient, and visually appealing home.